|
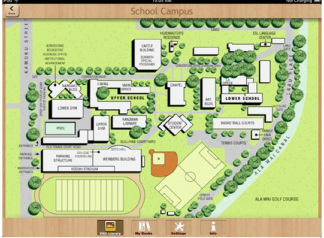
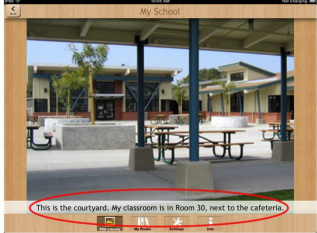
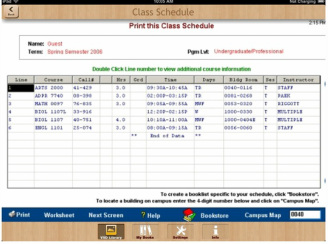
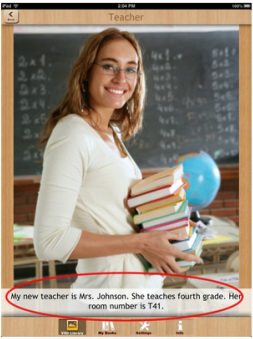
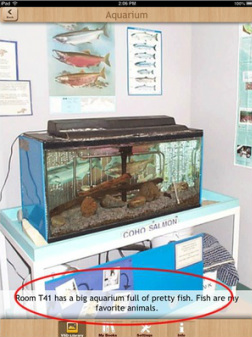
If your loved one or client will be attending a new school or program this year, try locating pictures of the campus or building compound (taking your own is ideal, but many can be found online) and use our Scene Speak app to create a virtual "map" for the individual to learn about their new environment. You can include locations of restrooms for those who may need to make frequent trips, drinkingfountains for those who may require extra hydration, and key places like offices, administrative buildings, classrooms (for those in school)...the possibilities are limited only by your imagination! For those who may be starting middle or high school, this can alleviate much of the stress that comes with trying to navigate class changes (if applicable), learning teacher names (these can be added as captions to the images), and juggling class schedules (which also can be imported into the app and labeled for easy reference). Start the year off smoothly by incorporating Good Karma Apps into your daily life experiences!
1 Comment
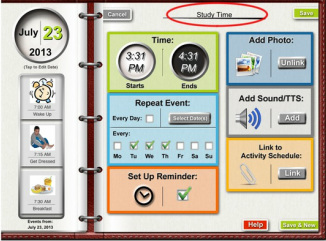
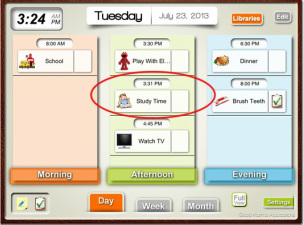
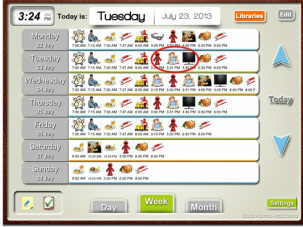
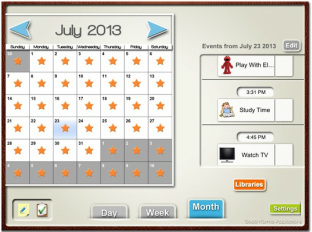
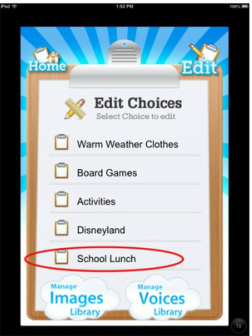
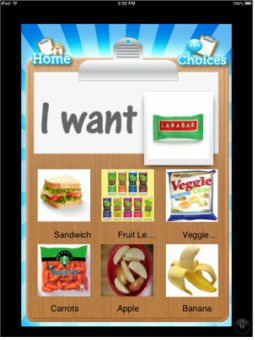
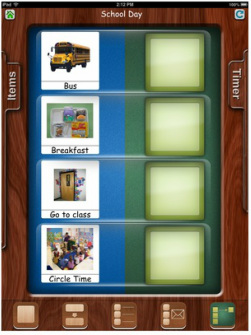
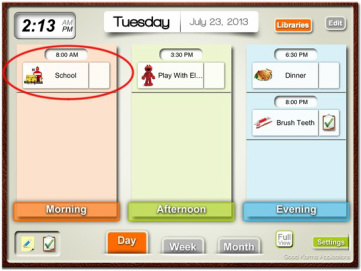
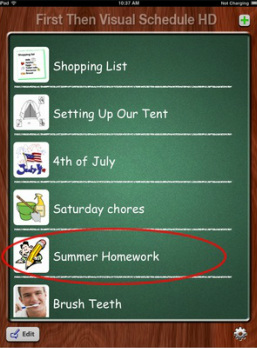
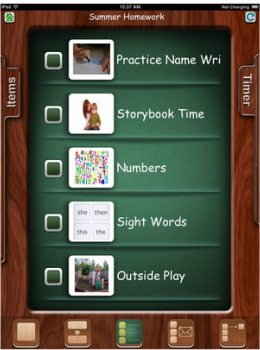
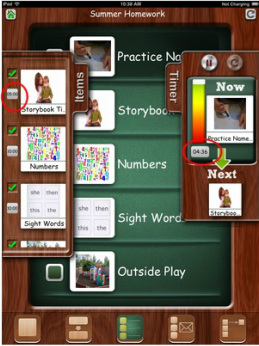
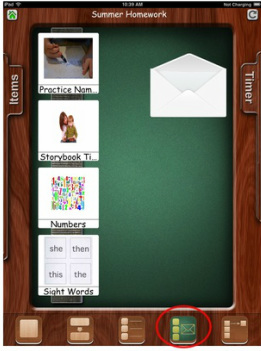
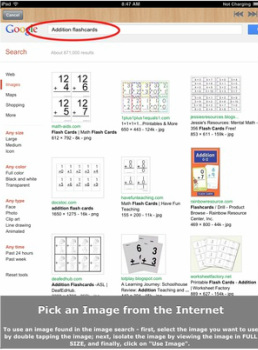
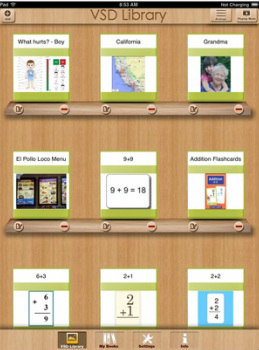
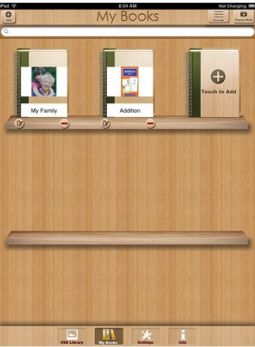
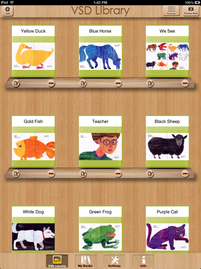
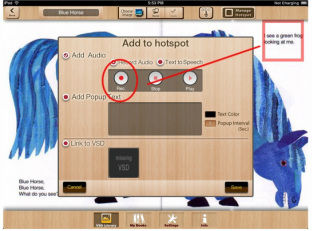
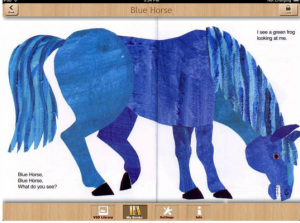
Having a hard time getting your loved one/student to study independently? Try using Visual Schedule Planner to "sandwich" study time between preferred activities. For example, if the individual has a project due at the end of the month, set a specific amount of time each day (or on specific days of the week) that are earmarked specifically for studying/research. To motivate the individual, try placing Study Time after a highly preferred activity (such as free time upon arrival home), and another motivating activity (like a snack, or TV time). Placing a non-preferred activity between two motivating activities within a schedule can be extremely effective, especially for those individuals who respond well to "First/Then" concepts. Will your client/loved one be starting a new placement or program this fall? Easing anxieties over a new placement, classroom, or program is essential for both short and long term success. Our apps can come in handy in this capacity as well. Try giving your loved one/client some input over what they will wear, bring for lunch, etc. on the first day of their new program or class by using My Choice Board to offer them the ability to make these choices for themselves. This will give them a feeling of confidence as they enter into the new environment/situation. If you have access to images of the new placement/classroom or can visit to take pictures yourself, use Scene Speak to create a social story/book of facts about the new program, including information about the teacher/supervisor, staff, classroom/building, and anything you notice that may capture their attention and hold it (if there's a bus yard close by and the individual loves buses, for example). The anticipation of entering into a new environment can become a positive thing if the individual has something interesting to look forward to. If possible, make sure the schedule for the first day of attendance is iron-clad, to avoid the chaos that can accompany lack of structure. The more clear the individual can be about what will be happening, the easier it will be to accept the new placement/program. First Then Visual Schedule HD is excellent for this purpose, and once the regular structure of the program/classroom is established, Visual Schedule Planner can be used to form a more long-term schedule of daily events and activities. Also, if any major changes will be occurring (for us, the program is not changing, but the teacher is getting married over the summer, which means her name will be different when school resumes), you can get your client or loved one accustomed to those changes before they return. Concepts like name changes, or even something as small as a haircut/color change can be distressing, and making sure those differences and changes are addressed before the individual goes back to the program/school can make for a smoother re-entry. Want to maintain academic skills during the summer? Use First Then Visual Schedule to plan out worksheet time, book reading, writing exercises...there are many ways to use the app creatively in order to promote structured learning activities over the long summer months. With FTVS HD, you can even add in timers, to allocate each subject a set amount of time. Letters, Numbers, Reading, and Math (oh my!): If you want to teach an academic concept involving visual recognition and memory to your loved one, try using Scene Speak to make "flashcards" of the information you'd like to teach. This works well in therapeutic settings as well as at school and home. You can use the internet search feature (or your own image library) to create VSDs of individual letters, numbers, colors, emotions...there are endless possibilities. Each can then be placed into a book of their very own, for easy access and organization. You can further enhance the experience and promote independent usage by adding text or hotspots to the VSDs.  Given the versatility of Scene Speak, there are multiple ways to use its functions to promote expressive and receptive language skills. Scene Speak can also be used as an effective tool to encourage literacy, by keeping the individual's favorite books contained in a portable form. For those of you that have a sensory-seeking child who may rip pages out of conventional books, this can be a wonderful way to create a custom version of a favorite book in a digital format. This blog will serve as a "how to" guide to create an interactive storybook using the popular children's book, "Brown Bear, Brown Bear, What Do You See?" as an example. 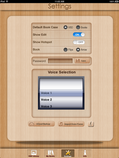 If your default bookcase (located within the "Settings" menu) is set to "VSD," then you're ready to begin. If not, simply tap the "VSD Library" icon at the bottom of your screen to begin adding the images you will need for your storybook. Don't worry if your pages are out of order... you can arrange them later when you add them to your book. 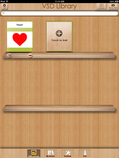 Now that you're in your VSD Library, you want to make sure that you are in "Edit Mode" so that you can begin adding in your images. To do this, tap the "Edit Mode" icon in the upper right corner of your screen. The icon in the upper right corner will now read "Playing Mode," and two icons will appear below each image in your VSD Library (an "edit" and "delete" icon). To begin adding the images that will eventually become your book, you can use either of two "Add" methods. In the upper left corner, there is an "Add" button, and at the end of your image library, there is a blank page with a "+" symbol that reads "Touch to Add." 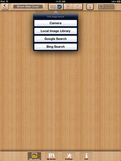 Before you can choose your image, you must first give your image a title. In the field provided at the top of the screen ("Input Name Here"), I have chosen to create the page that will serve as the book cover, simply titled "Brown Bear Cover." The next step is locating a suitable image. By tapping the "Choose Image" icon at the top of the screen, a drop down menu will appear, prompting you to choose your image source. When creating custom storybooks using existing templates, you can either use your device's camera to take a picture of the book page itself, or use the Internet Search feature. For this example, I will use "Google Search."  The name used to title your image will automatically import into the Google Search field, which should show a variety of options to choose for your image. If the results do not match your desired image, you can use another description in the search field to refine the search. I prefer images that have a higher pixel size (larger dimensions) for easier editing and image clarity. Tap the desired image to bring it into viewing mode.  To select, tap the "Full-Size image" link to the right of the image. This brings the image into Full Size view with a "Use Image" icon underneath. If there is no icon, it is copyright protected. In this case, tap the double arrow at the top of the screen to go back and choose another image.  Once you have the image imported into Scene Speak, you can resize the image to fit the screen by pinching and pulling the image itself. This is especially helpful if you want to maintain the integrity of the original book. 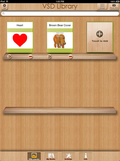 Now that the image is properly imported and resized to your satisfaction, make sure to tap the "back" icon in the upper left hand corner. This will save the image automatically to your VSD Library. Now, you have your book cover! Using the same process as I did for the "Brown Bear Cover," search and import in each page of the storybook from the Internet, until you have the complete set of images that you want for the story. When you have all of the pages to make your book, your VSD library will look like this: 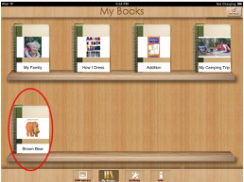 Now that all of the pages are imported in, you can create your book! From the VSD Library, tap the "My Books" icon at the bottom of the screen. This will bring up all available books in your library. Adding a book involves the same process as adding a VSD - just tap the "Add" icon, which will show the icon for a new book. You cannot add a new book until you choose a title. I chose the traditional title for this book. Now, select the VSDs that will comprise your book, and you're ready to read! Creating a "touch to play" feature: Hotspots can make your storybook come alive. For each VSD that comprises your book, create hotspots with audio recordings of your voice reading the words in the story. That way, when the individual touches the words, the text will be read aloud to them. For anyone who has ever been forced to read "Goodnight Moon" ten times per night, this can be a truly life-changing feature! Good luck with your own storybook! If you have a creative idea for an interactive storybook using Scene Speak, feel free to leave it in the comments section for other visitors. Sharing is caring!
|
Good Karma Apps"We create ecxeptional mobile technology to empower individuals leading exceptional lives." Archives
May 2020
|
Our Apps |
Contact UsQuestions or Issues? - Uservoice Tutorials
|
About Us
|


 RSS Feed